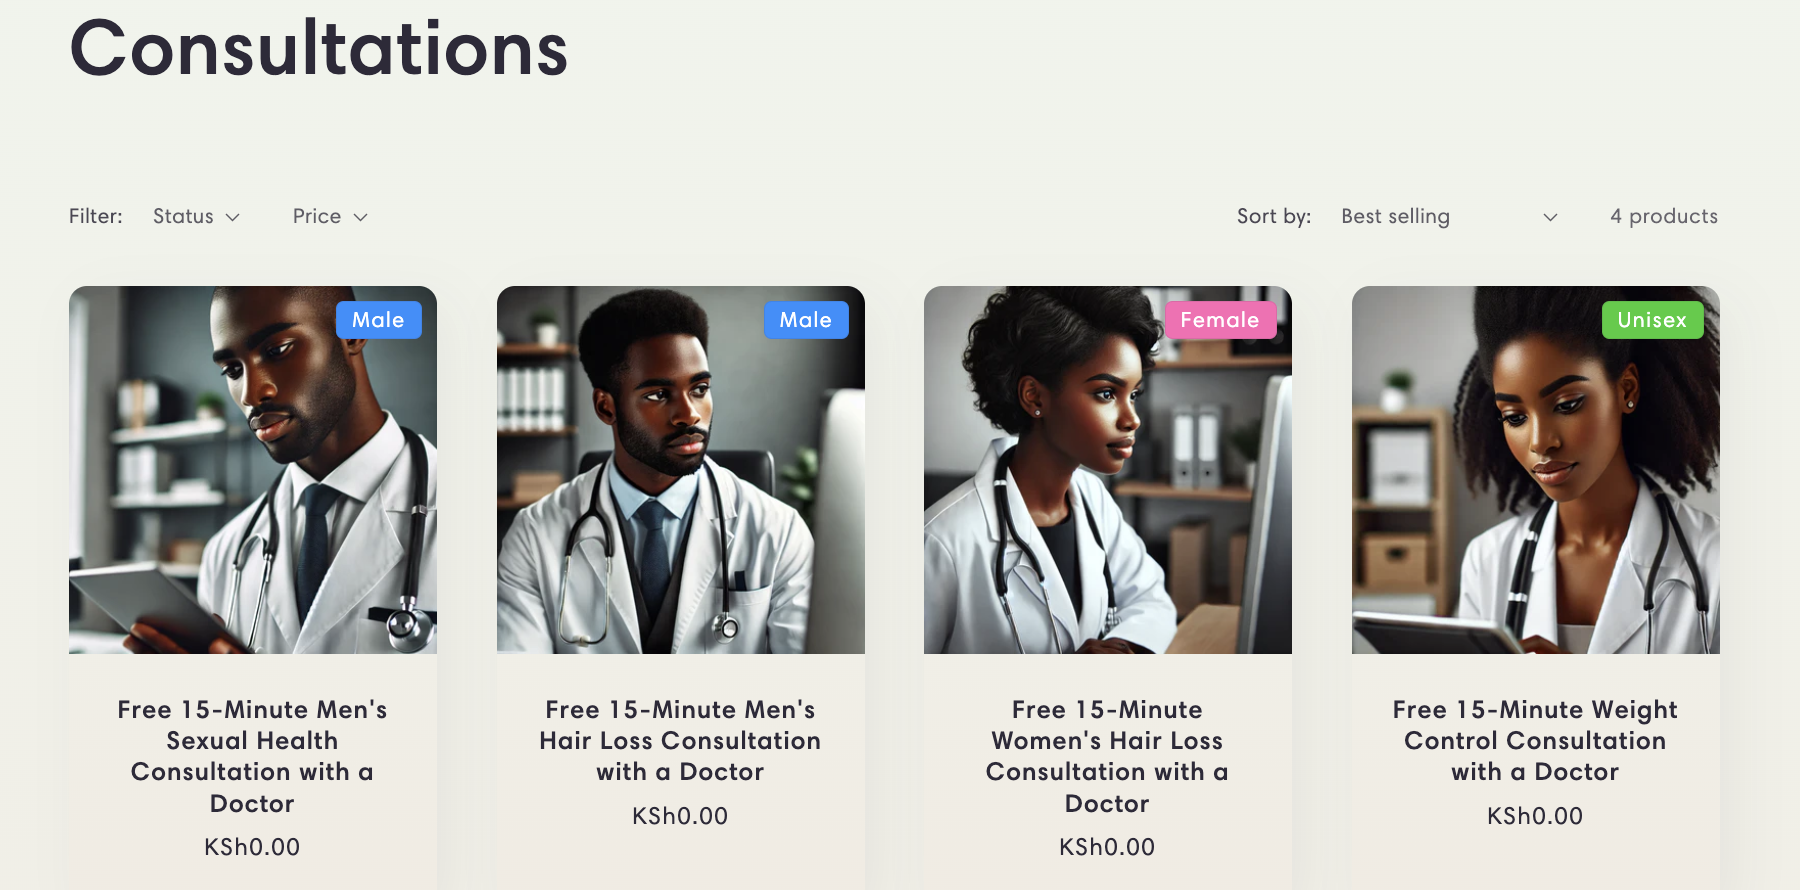
はじめに
- 商品に、Male, Female, Unisexのバッジをつけて、ターゲットをわかりやすくする
カスタムデータの追加
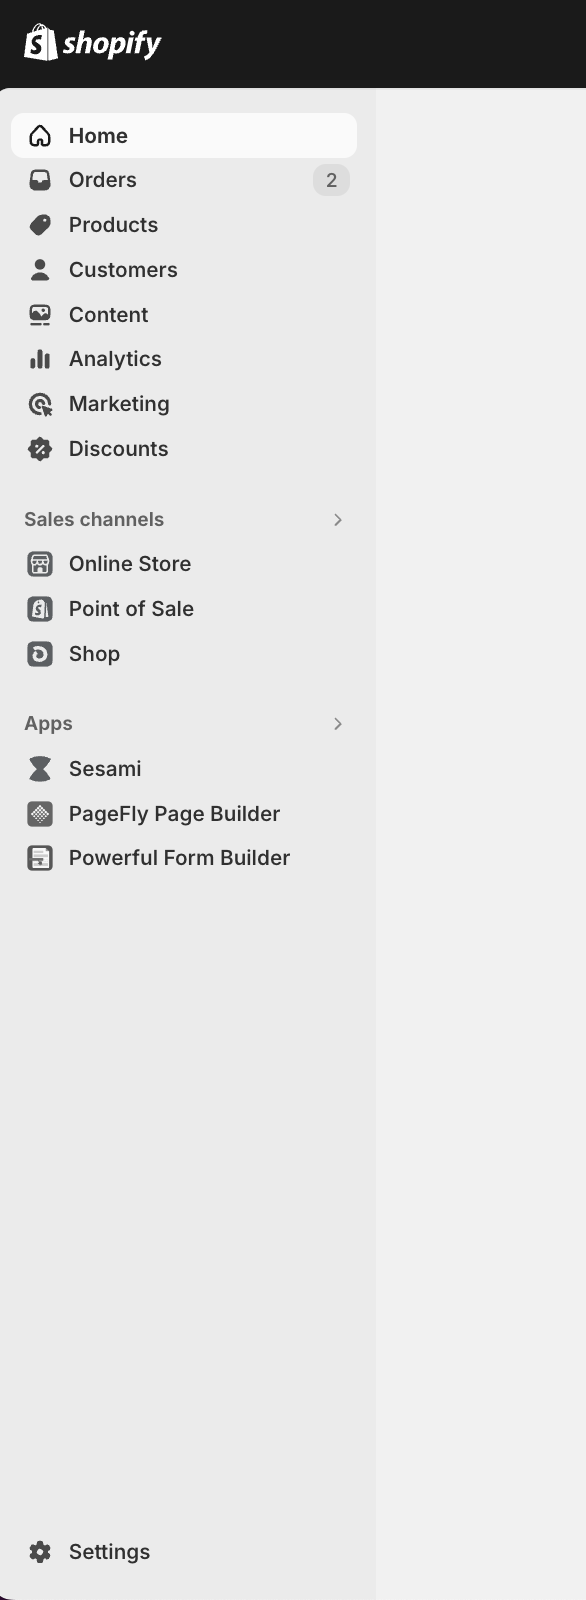
Settings を開く
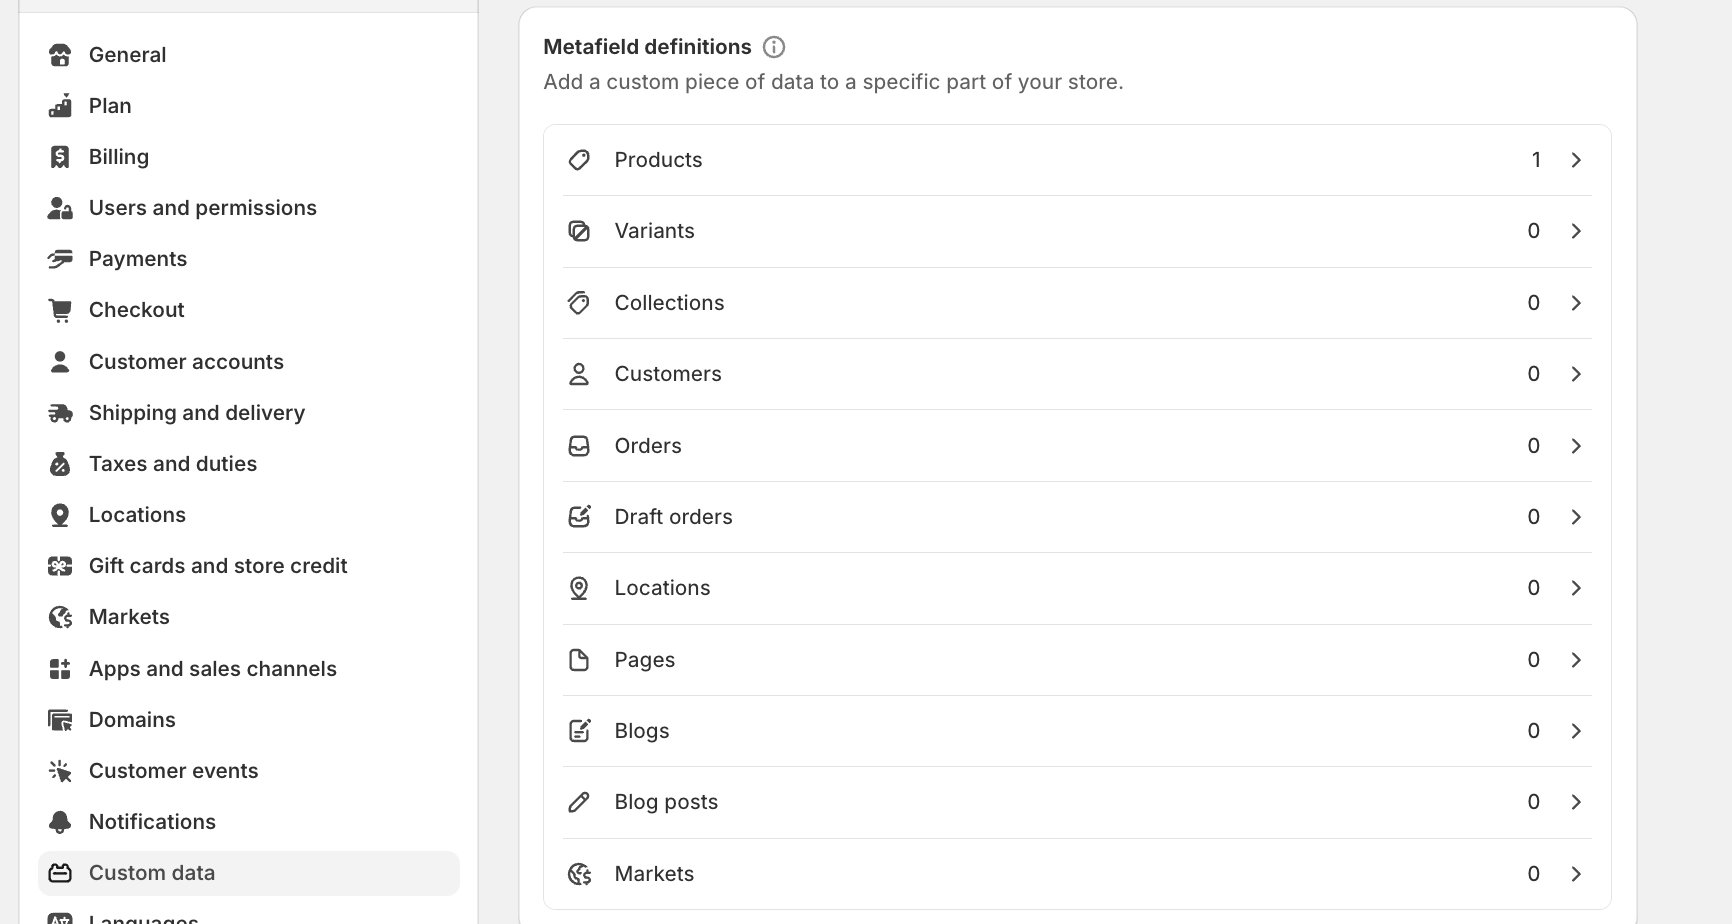
Custom dataを開き、Productsを選択する
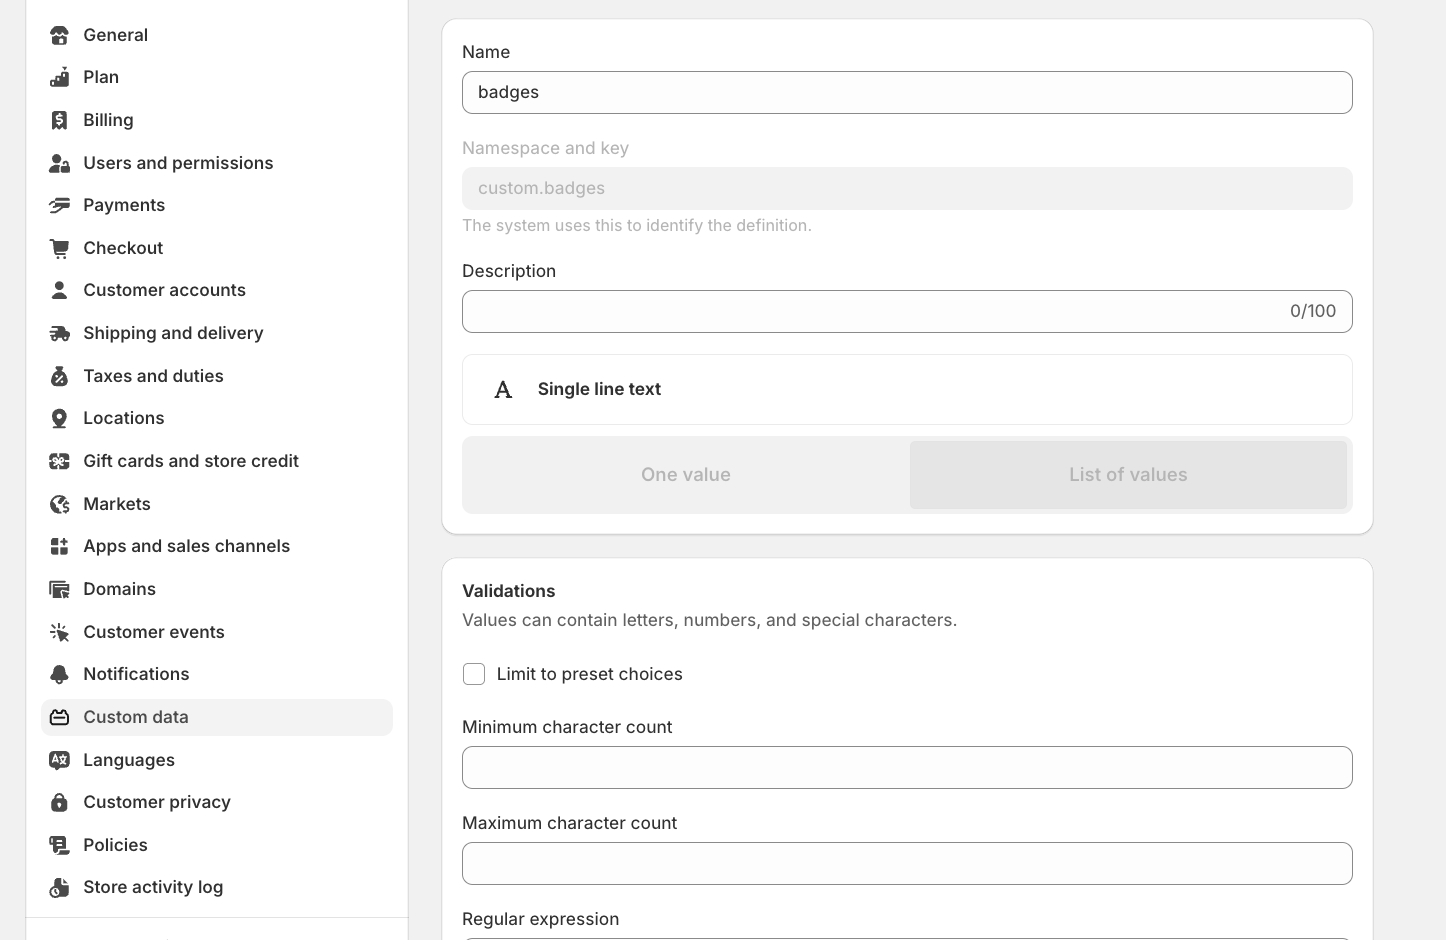
Name: badges
Namespace and key: custom.badges
Type: Single line text、List of valuesを選択
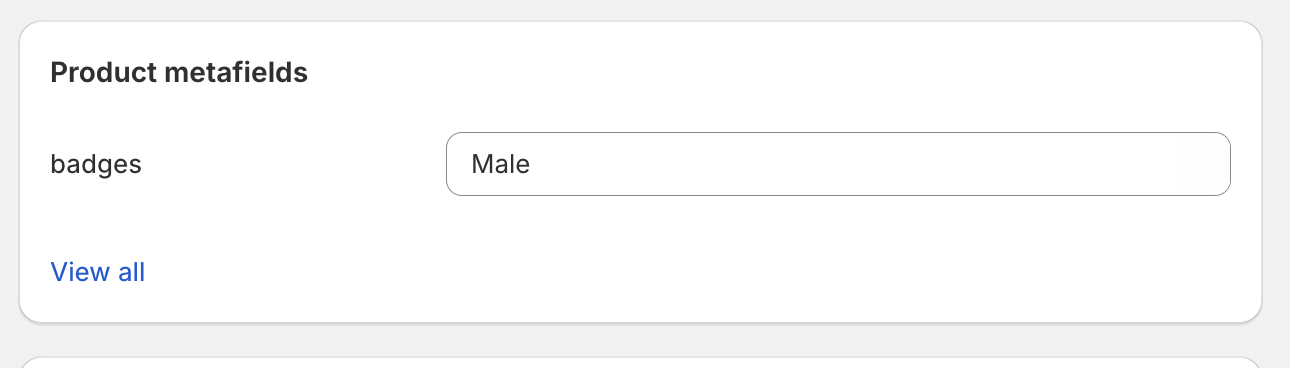
商品にバッジをつける
Productsを選択し、商品を開く
badgesに、Male/Female/Unisexのいずれかを記入する
Liquidファイルを編集する
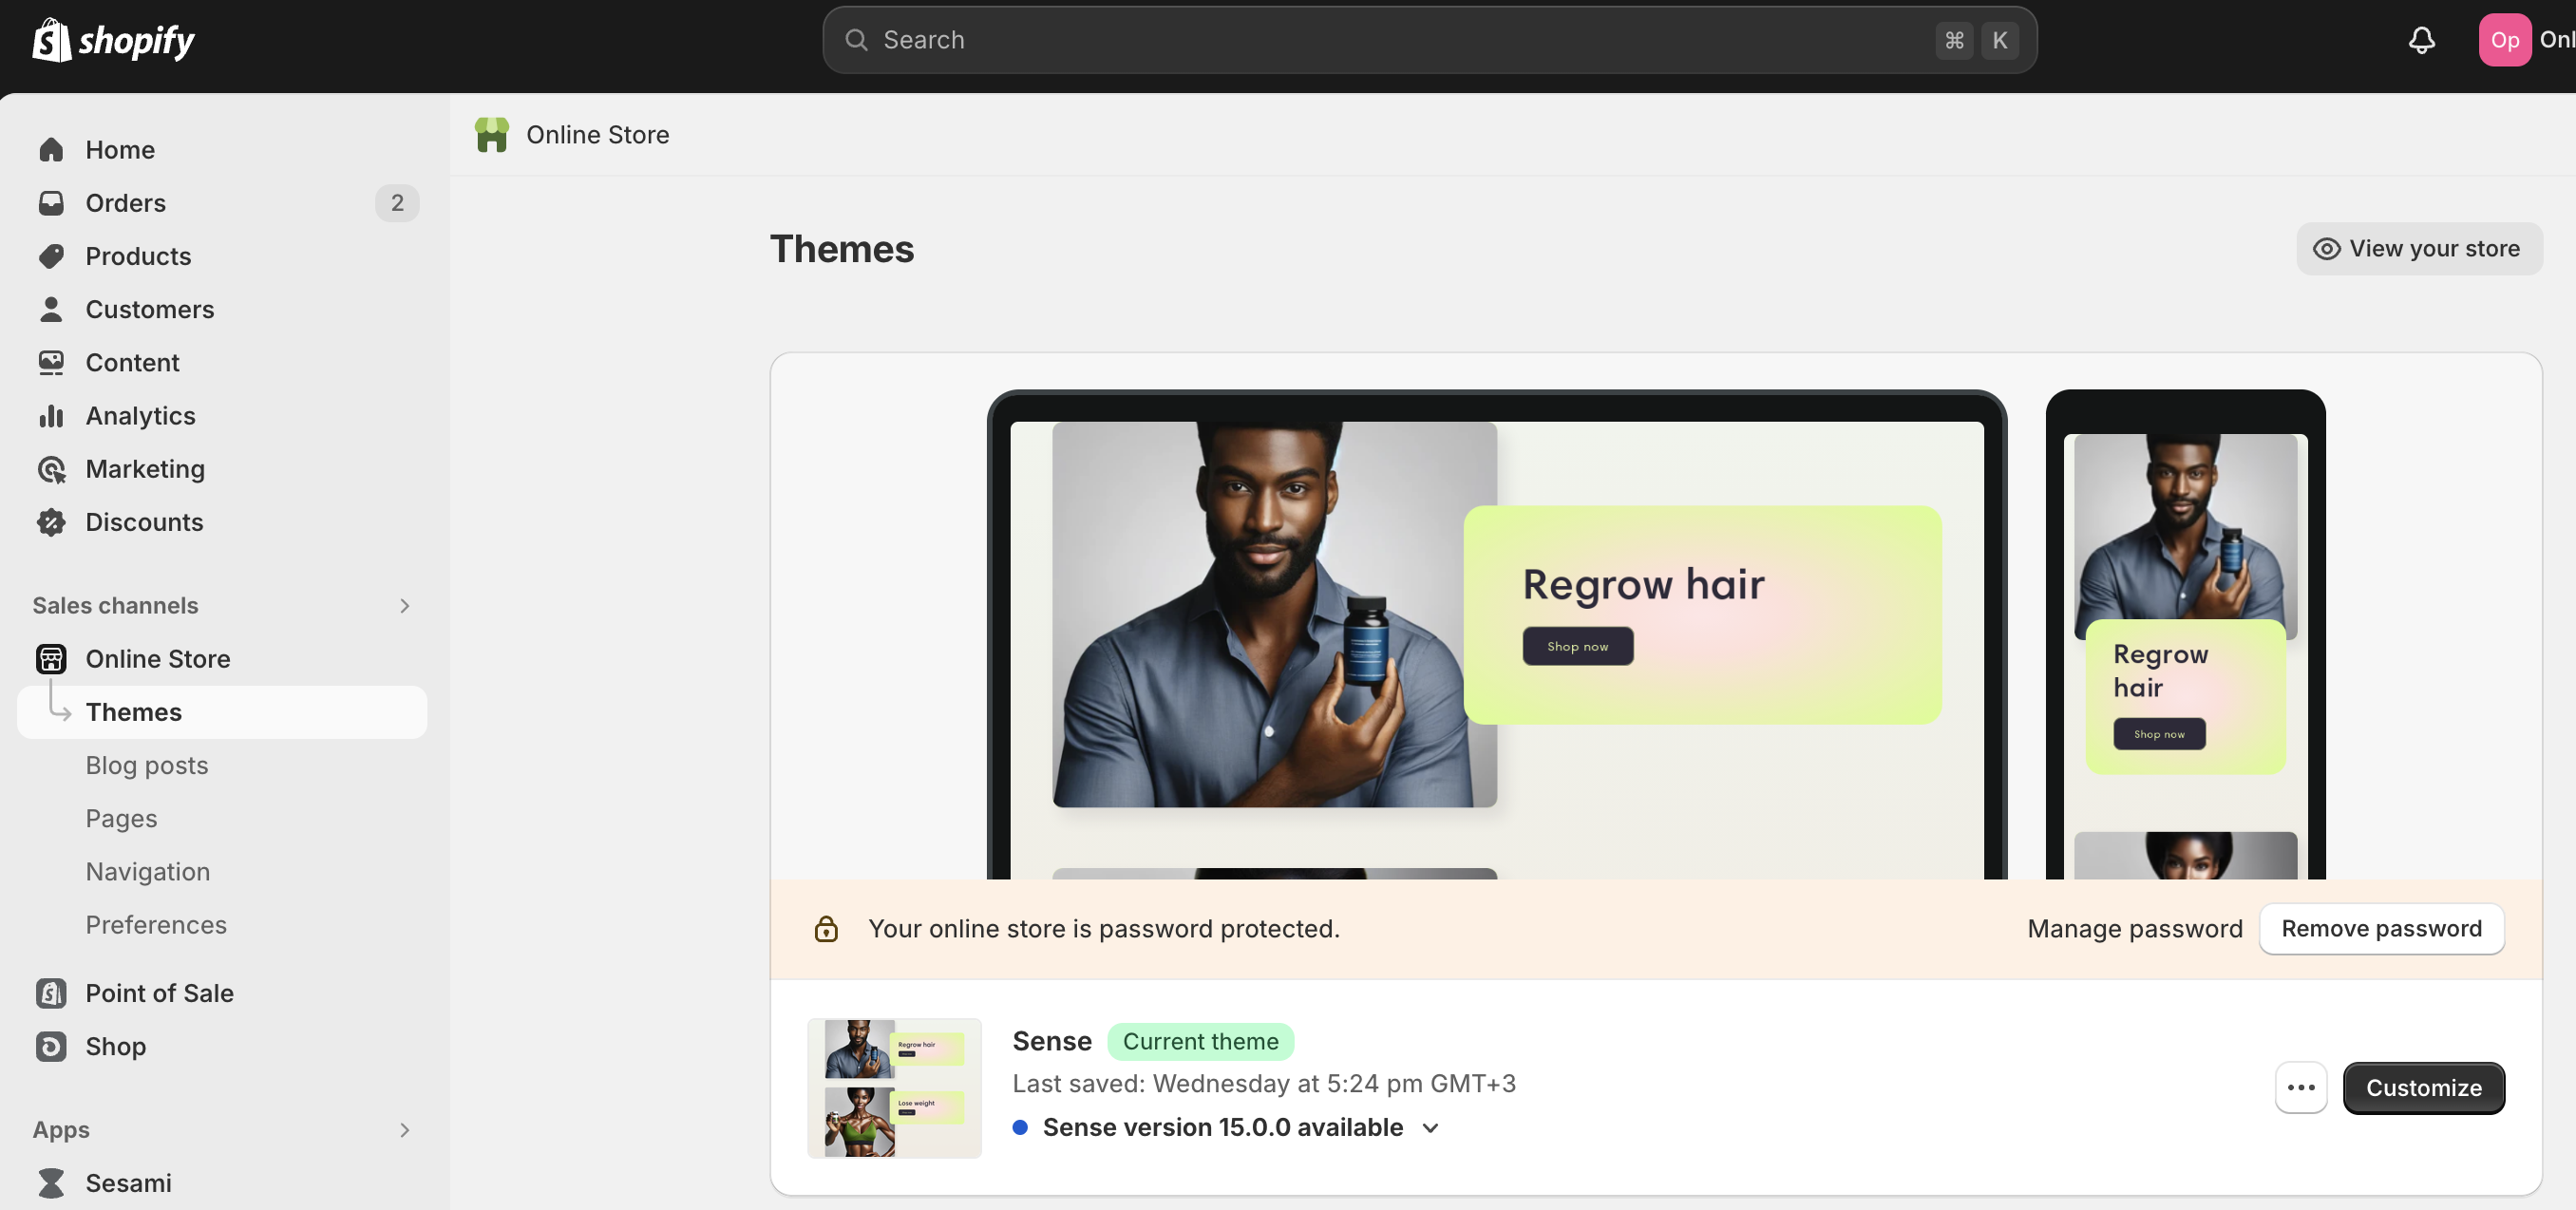
サイドバーのSales channels > Online Store > Themesを開く
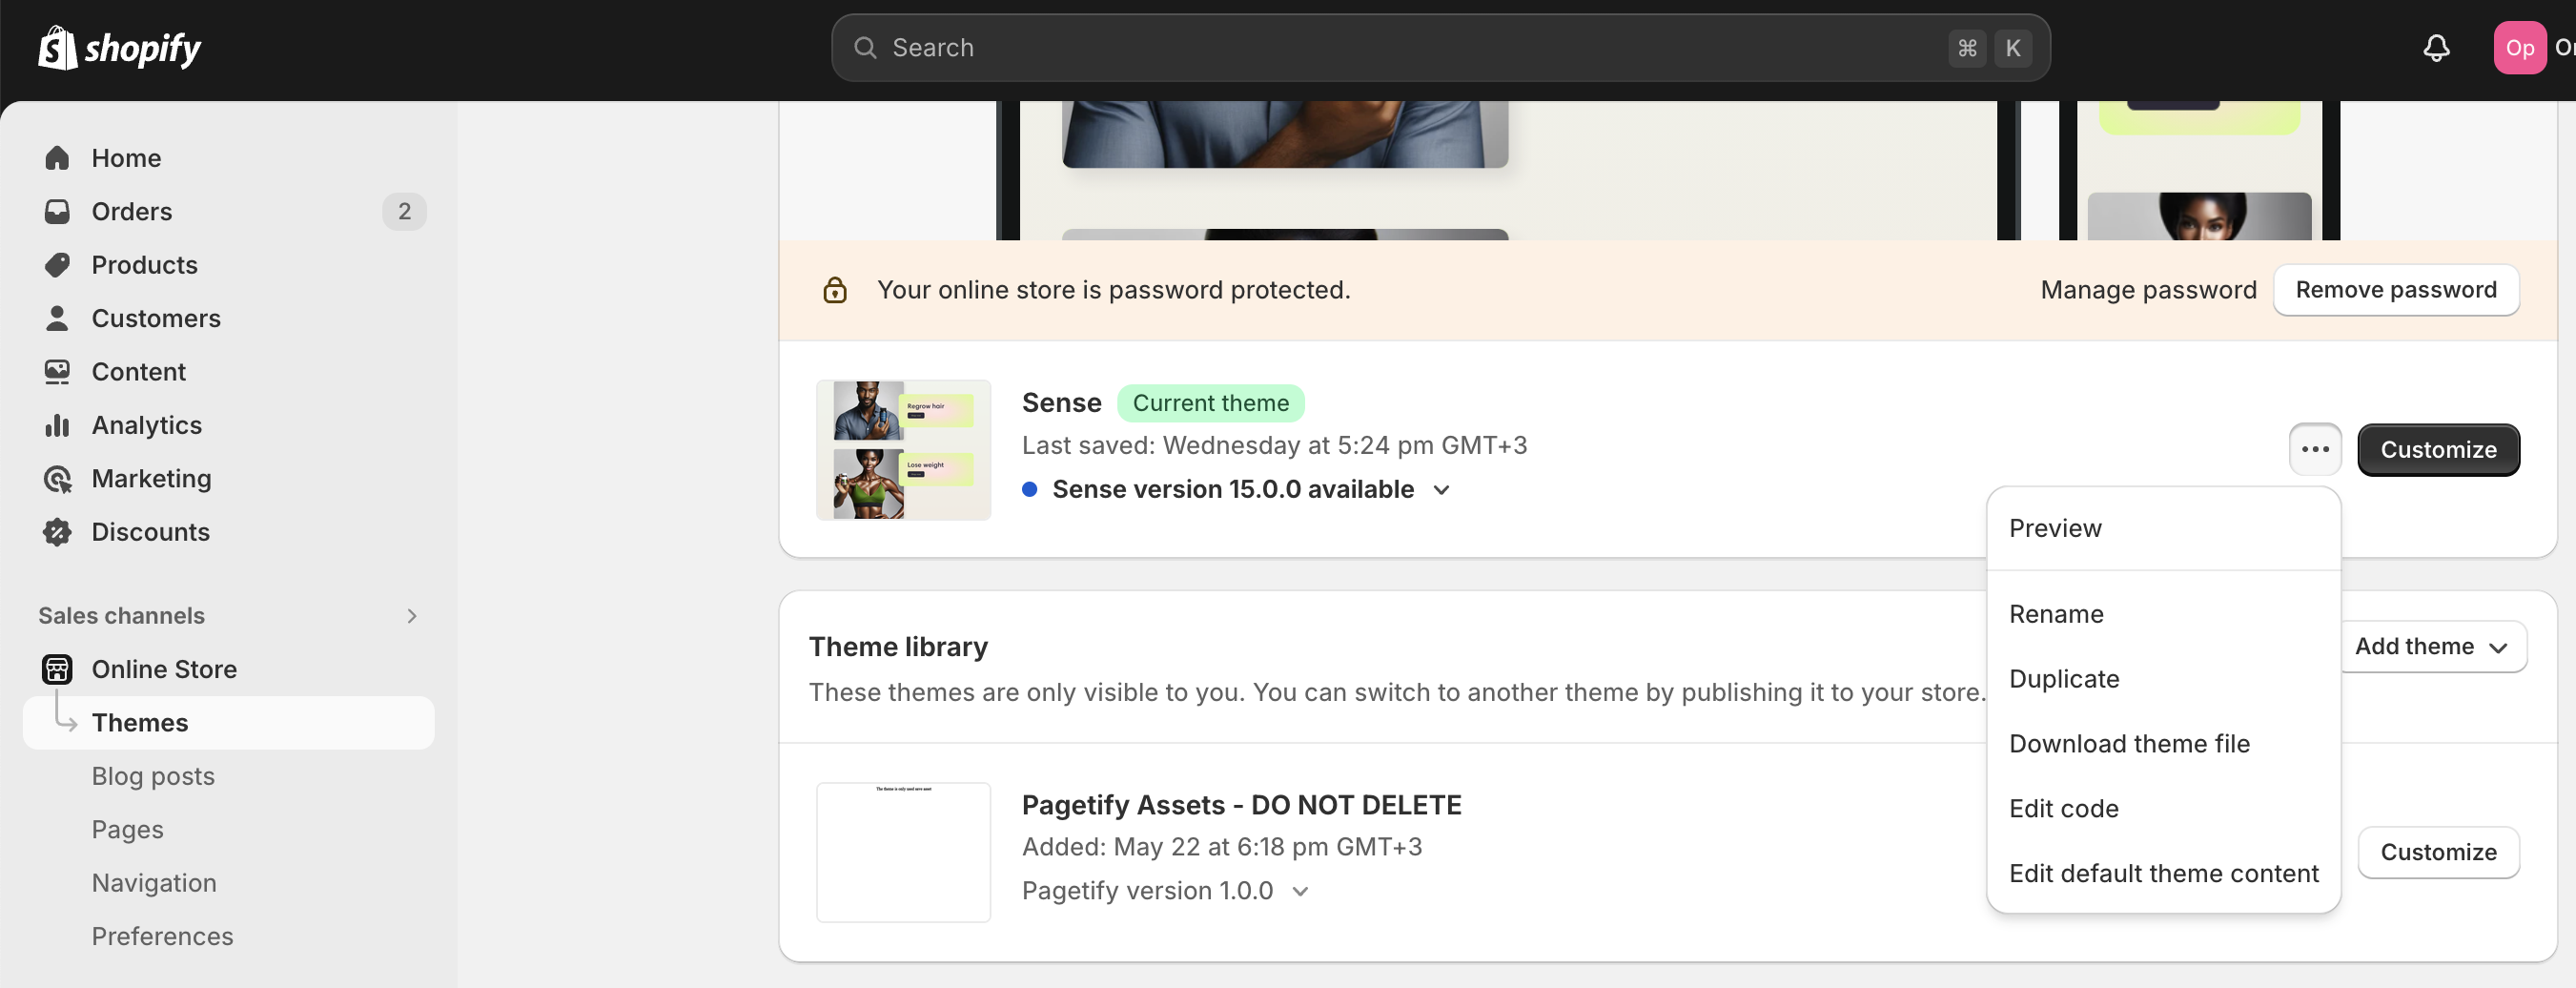
テーマのミートボールメニュー「・・・」を押し、「Edit code」を開く
Filterにファイル名を入力する。例「card-product」
card-product.liquidを開く
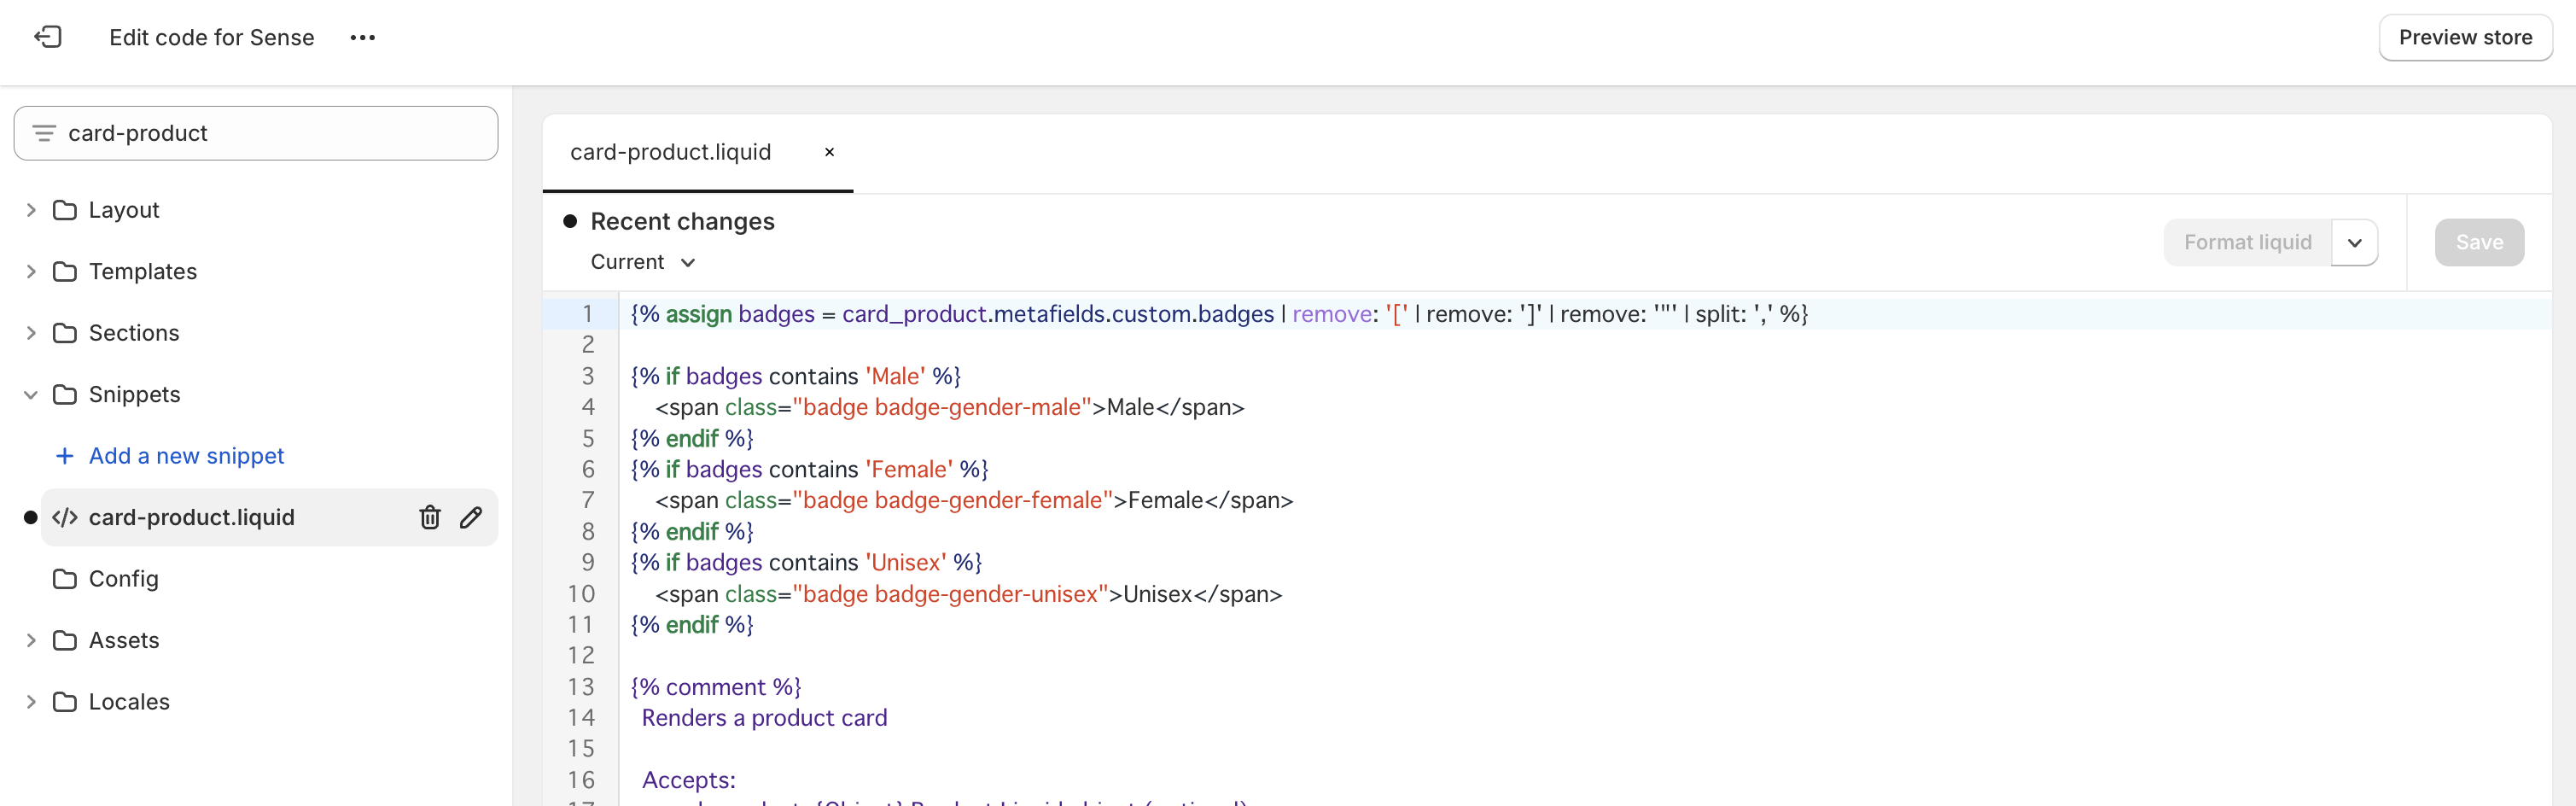
バッジ用のコードを入力し、保存する
{% assign badges = card_product.metafields.custom.badges | remove: '[' | remove: ']' | remove: '"' | split: ',' %}

{% if badges contains 'Male' %}
    <span class="badge badge-gender-male">Male</span>
{% endif %}
{% if badges contains 'Female' %}
    <span class="badge badge-gender-female">Female</span>
{% endif %}
{% if badges contains 'Unisex' %}
    <span class="badge badge-gender-unisex">Unisex</span>
{% endif %}
カスタムCSSを追加する
サイドバーのSales channels > Online Store > Themesを開く
Customizeボタンをクリックする
サイドメニューの歯車アイコンを選択し、「Custom CSS」を開く
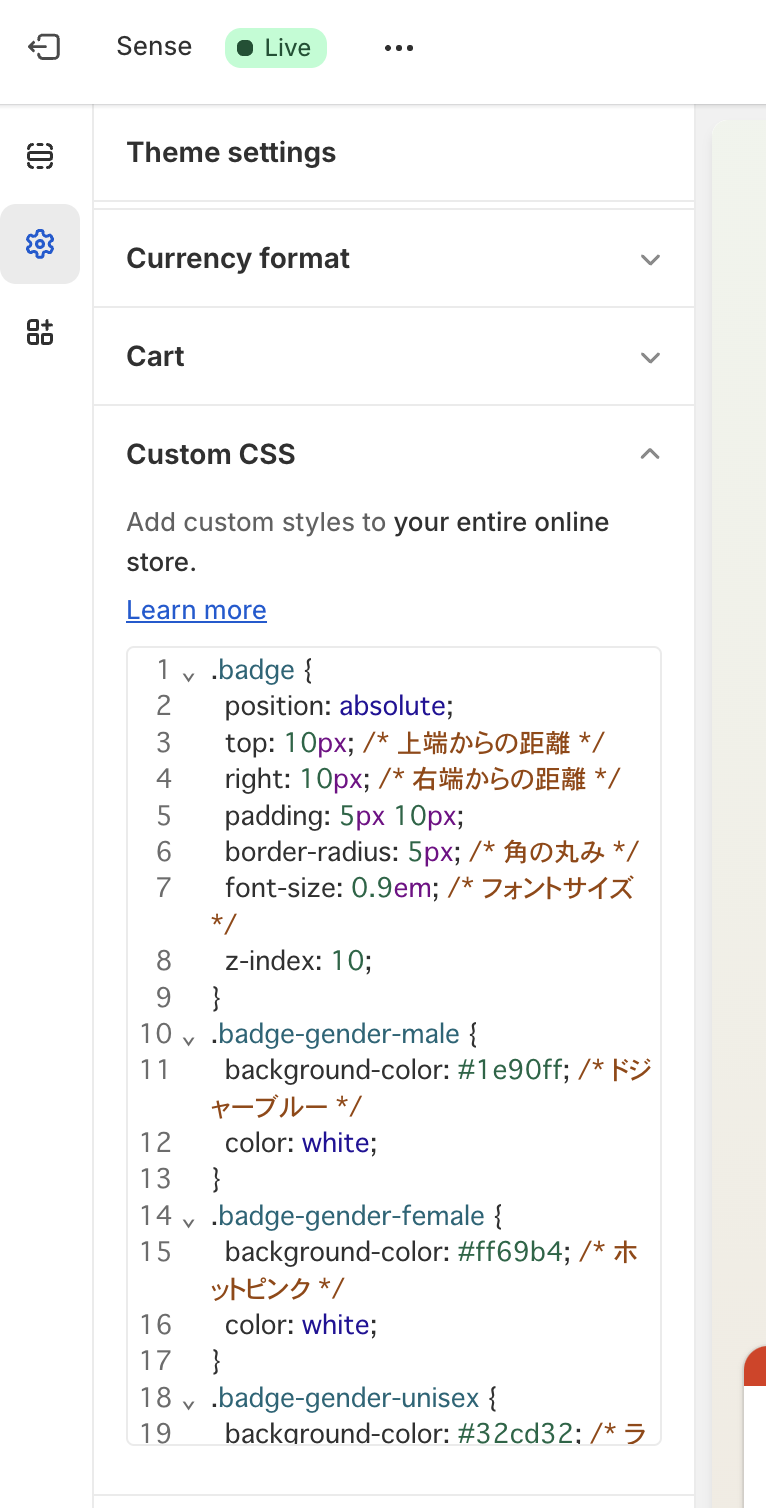
CSSを追加する
.badge {
  position: absolute;
  top: 10px; /* 上端からの距離 */
  right: 10px; /* 右端からの距離 */
  padding: 5px 10px;
  border-radius: 5px; /* 角の丸み */
  font-size: 0.9em; /* フォントサイズ */
  z-index: 10;
}
.badge-gender-male {
  background-color: #1e90ff; /* ドジャーブルー */
  color: white;
}
.badge-gender-female {
  background-color: #ff69b4; /* ホットピンク */
  color: white;
}
.badge-gender-unisex {
  background-color: #32cd32; /* ライムグリーン */
  color: white;
}
商品のバッジを確認する